We have to clean out the grain bins that hold some of last year’s corn and beans to make room for this year’s crop.
Usually, the prices are a bit higher at this time than the rest of the year. Not this time. Our little commodity price gamble didn’t work as well as we planned.
Harvest is Just Around the Corner
Procrastination will only result in no room for a crop that’s coming in soon. So, the clearing and cleaning begins.
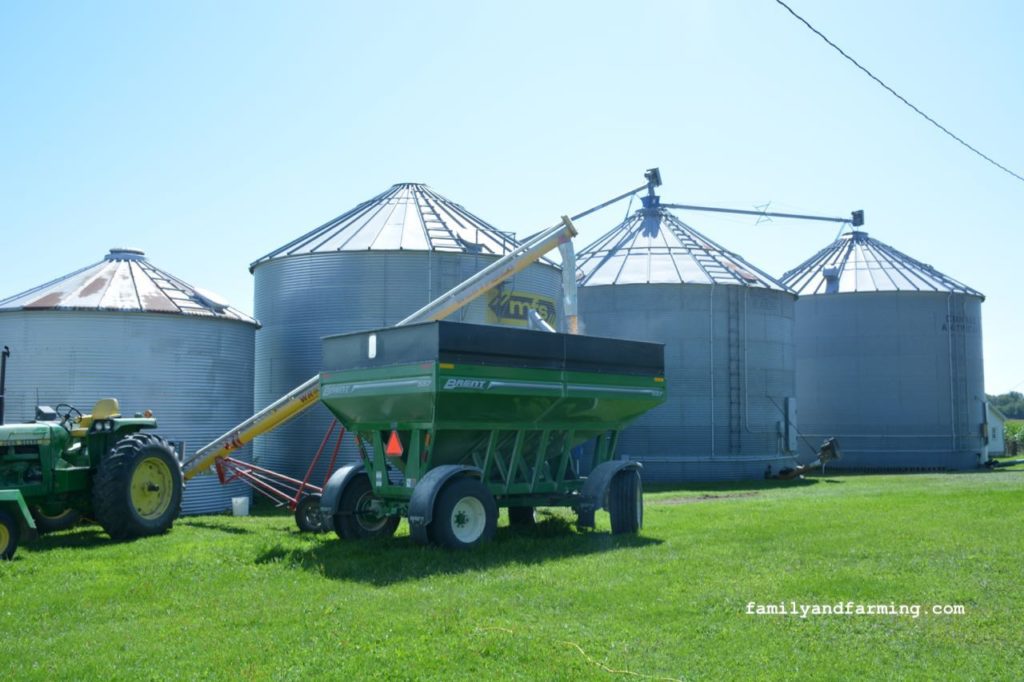
Cleaning out Grain Bins
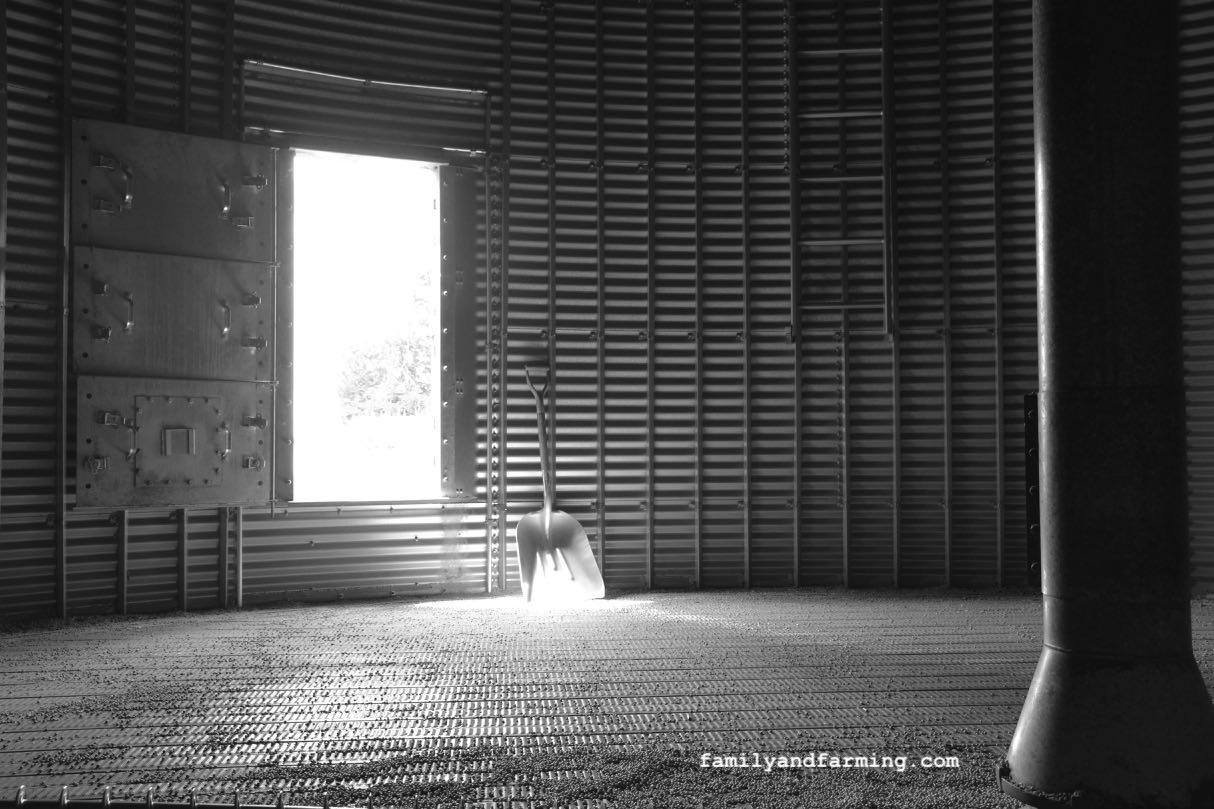
Grain augers will do most of the work, but there’s always a little left in the grain bin, so we have to clear them out manually. The tools we use to clear out our grain bins are simple. A grain bin sweep auger (1974 & 1999), a scoop shovel, a large rubber mallet, a push broom and face masks are the tools we use to get the job done.
It takes about an hour per grain bin to clear out the final bushels left behind. It’s important to get everything out, because if any grain is left behind, it gets old and buggy, and will spoil and affect this year’s harvested crop. We also check all the mechanical aspects of each grain bin. We don’t want something going out during the crush of harvest.
We have five grain bins in various sizes to clear out before the end of September. We don’t quite have enough storage for our farm’s entire crop. Any commodities that can’t be stored are taken to the grain elevator seven miles away either to sell immediately or to be stored for around 17¢ per bushel for three months. This is done to hopefully get a better price later in that window of time. Remember The Farming Gamble? EVERYTHING, including our income, is a gamble!
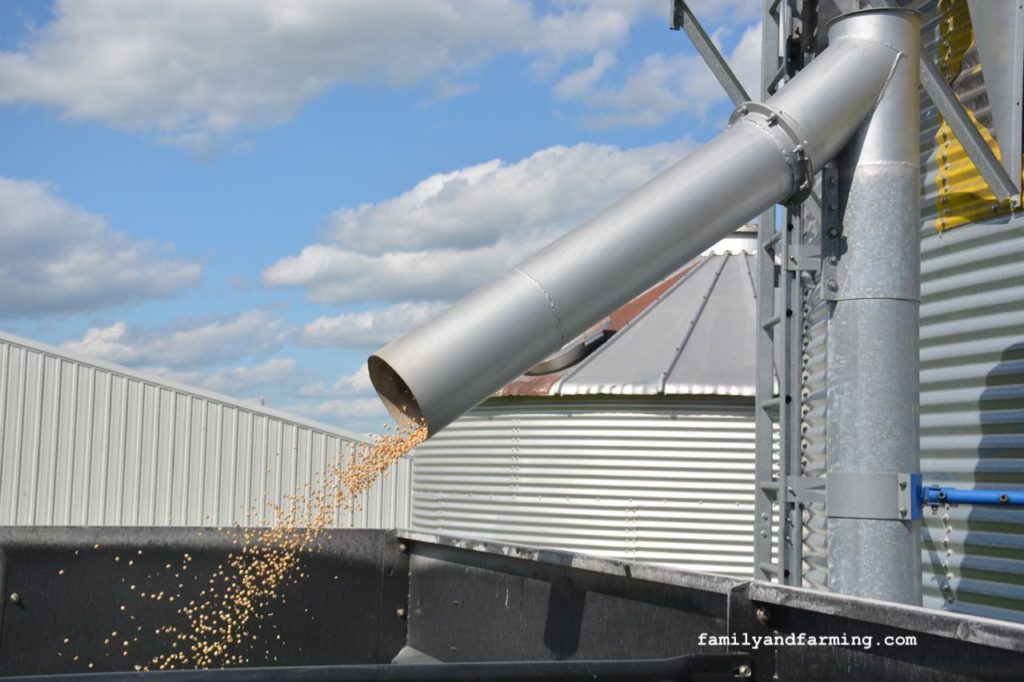
Number one corn must have 15% moisture or it will spoil. Corn is checked in the bin year round and is never kept on our farm more than nine months. Beans must have 13% moisture content to be marketable. If any of our commodities are above these moisture standards, they are docked on a sliding scale compared to the percentage of moisture.
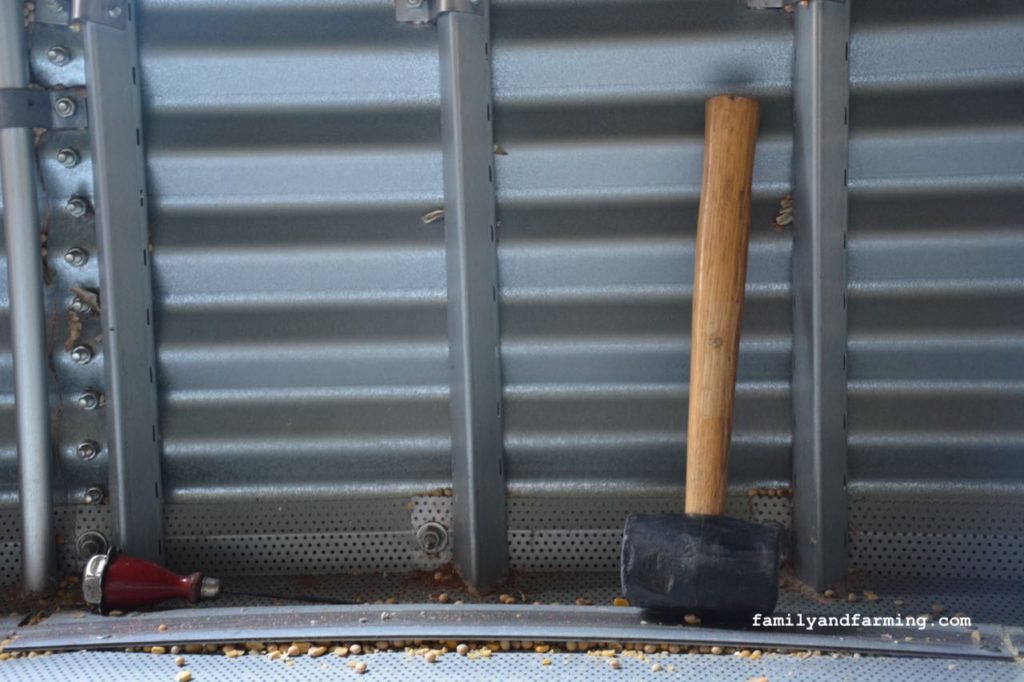
We rarely have any corn or beans above the standard, as we pride ourselves in a quality crop and don’t want to lose any money in the process.
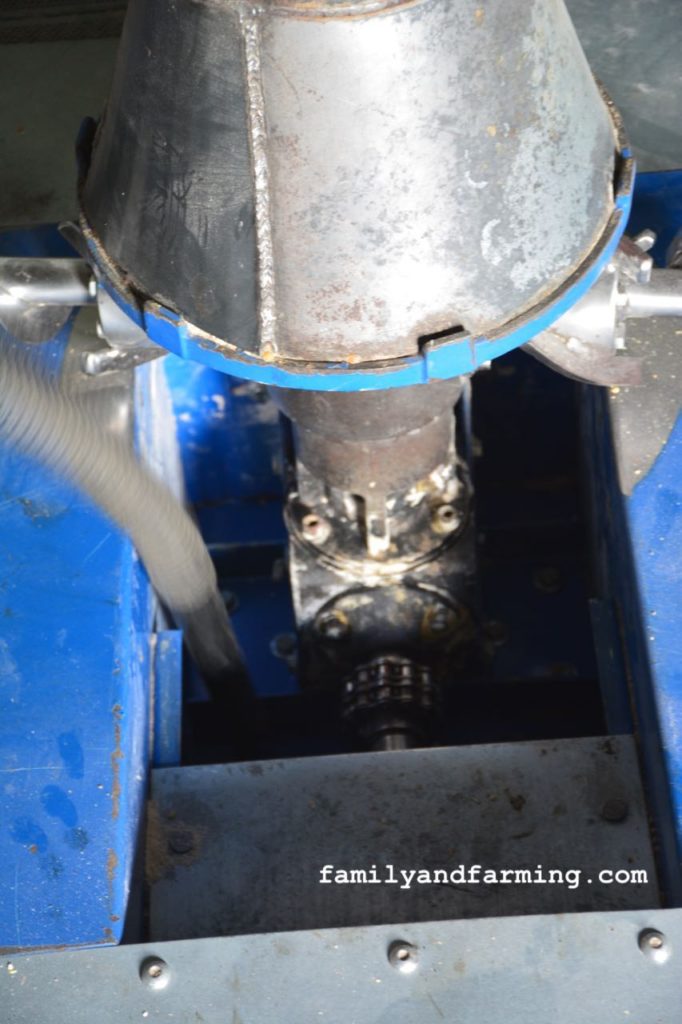
So we clean the bins to prepare a place that will contain this fall’s harvest in the best way possible. Some people pay to work out. Not here on the farm!
Be Blessed!
Chocolate Honey Sauce
Today’s recipe is Chocolate Honey Sauce. It can be used to add extra calories to a cake, pudding or on top of ice cream. But sometimes you just need a little bit of fun in your life! If you want to go all out, throw some whipped cream and nuts on top of whatever you put this sauce on.
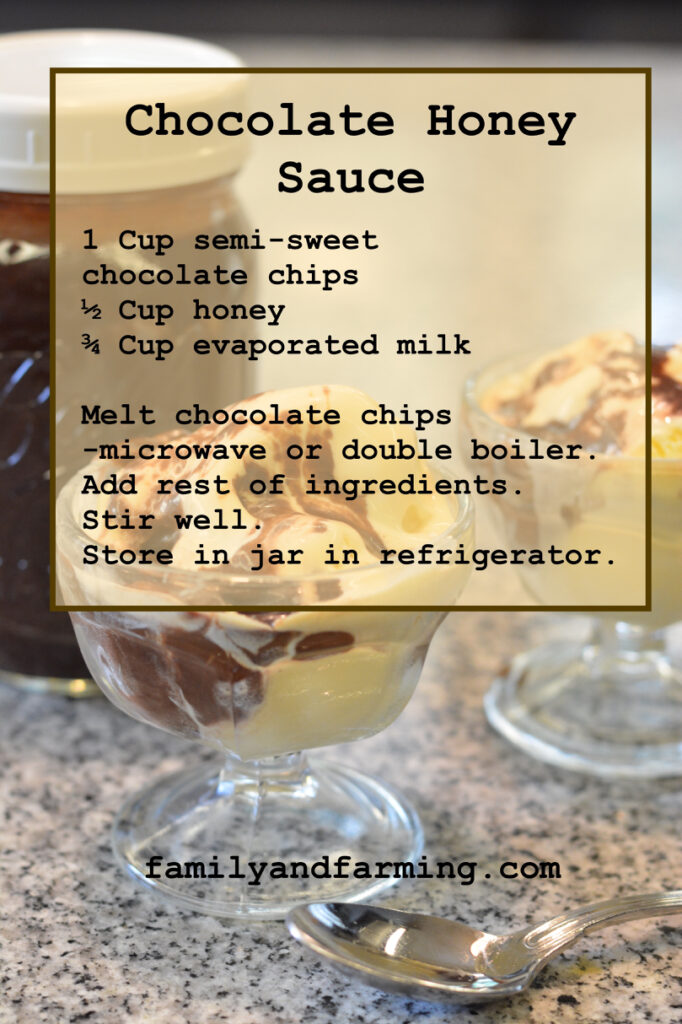
Almost every recipe featured on this blog can be made with a wooden spoon and a bowl. This recipe is no exception. This is a recipe from the 1940’s or ‘50’s and was featured in the Cedar Rapids, Iowa St. Michael’s Episcopal Church cookbook. Good luck trying to find this cookbook online. You’re just going to have to depend on me to help you out. This thing is soooo old, each page is hand written, before the widespread use of photocopiers. The phone numbers in the ads include numbers and letters. So vintage! But the combination of chocolate and honey is a taste that never goes out of style.

This recipe encourages the cook to melt the chocolate chips over hot water. Don’t bother. Just use that new-fangled thing called a microwave! Just make sure you melt this concoction in 30 second intervals with lots of stirring.
Chocolate Honey Sauce
Tools You’ll Need:
- Measuring cups
- Wooden spoon
- Bowl
- Jar with lid to store sauce
Ingredients:
- 1 C semi-sweet chocolate chips
- ½ C honey
- ¾ C evaporated milk
Melt chocolate chips over hot water or in microwave. Add the rest of the ingredients. Stir well. Store in a jar in your refrigerator. I’ve mentioned this before, use a pint canning jar and these nifty lids! Look for them at any general/hardware store. Walmart sells generic models that are just fine.

Discover more from Family and Farming
Subscribe to get the latest posts sent to your email.

Wonderfully